Fashion
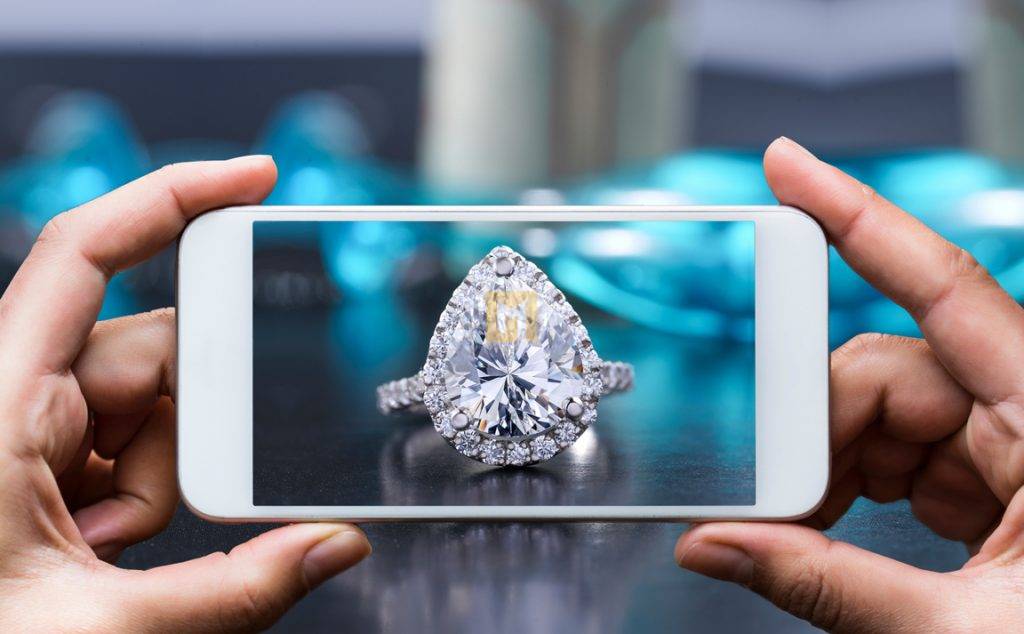
Take great photos of your jewelry
Prepare for successs
I’m a big believer in doing things right. It’s about all my posts, my philosophy of life, and why I founded the Flourish & Thrive Academy. If you know me, you already know how important I am to what your business needs to be successful.
We’ve put together great templates for the basic resources every ecommerce business needs. Leveraging these resources will give you an edge over any business owner who is just guessing.
Before you start taking photos, don’t forget the important areas of your business that need to be defined to get the most out of great product photos. Are you ready to optimize your photos if … You have taken the time to build your website: you know where and how to sell your product.
You have carefully composed the image of your product. You have planned your marketing campaign for the products. You are proud of the collection you have collected. It’s a big impact and, frankly, beautiful.
You know how to attract the customers of your dreams with your plans and are preparing for a great season of engagement with your customers and sales promotion
Your visual assets give wish
But even if you do all of these things, sometimes the sales just don’t go the way you want them to. Sometimes it may seem like everything is static. Your conversion rate is low and your bounce rate is high – potential customers lose interest fairly quickly and it’s clear your product isn’t having the desired effect. I’ll share with you something that took me years to learn: often the answer to a complex problem is much simpler than you think.
Before looking for radical solutions or starting to believe that you are not good enough as a designer, take a step back and look at your brand from the customer’s point of view.
Ask yourself: does your photo reflect the real value of the jewelry?
Your product description can have a big impact on the first impression you make on your prospects.
Beautiful attention to small details, good
Yes, it is important that the product description is correct. You don’t have to worry about that. You don’t really need top-notch equipment or expensive props to take adorable product photos for your customers. We will talk about it later. First, you need to understand the impact your product description has on a potential buyer.
The message of your brand to consumers
Your brand images are an important part of your brand assets and set the tone for what your customers can expect from you.
Powerful Brand Assets
Keep up to date with the industry. Stand as a visual representation of your brand.
It includes everything you use to promote your business, including graphics, photos, spreadsheets, and lists.
If you do it right, you’ll have a cohesive brand that your audience can recognize and connect with.
Classes of brand photography
There are three different types of branding photography, and each has its place in your business. The key is knowing when and where to use each type to convey a consistent message to your audience and get people to buy from you.
Product description
The product description must be simple and consistent. Just a high quality photo of your product on a plain white background, well exposed to show the details. It is better to take multiple angles and close-ups. Use these photos on your website’s product pages and wholesale tables.
Description of the model
Model photography is a step beyond normal product photography as it shows the jewelry used in the models. However, the main focus of the description should be on your jewelry.
Mockup images are great to display after product images on the product page. They also deliver great social media content.
Photograph of life
Lifestyle photography is not about showing the details of the jewelry, but about helping the audience imagine wearing the jewelry. These are usually the most creative and “artistic” of the three types of photography.
There are no hard and fast rules for lifestyle photos and they help convey the overall vibe of your brand. Lifestyle photography is perfect for look books, social media and the main pages of your website.
Now that we’ve talked about visual assets, your message, and the three types of photography. Nothing kills a potential buyer’s interest like an unprofessional, low-resolution product description. It can make your jewelry look cheap and poorly made, even if it isn’t.
Like I said before, you really don’t need fancy equipment to take professional product photos. In fact, the latest smartphone cameras could be the deciding factor. But if you want to take it a step further, investing in a decent camera will really take your photography to the next level.
With this in mind, you’ve probably wondered what you need to get started.
Your camera
Your product images are likely to be small to meet web image standards. Try to avoid using compact cameras or point-and-shoot cameras – you won’t be able to get the image quality your product photography requires.
A mid-range DSLR is enough to give you the quality you’re looking for. There may be a bit of a learning curve at first, but take your time to explore and practice. You’ll be amazed at how quickly your skills and confidence can improve with just a little dedication.
Your camera aim
When it comes to photographing small items like jewelry, professionals recommend buying a macro lens with a focal length of 60mm.
Prime lenses, usually 18-55mm (wide angle, short zoom), are not ideal for really small objects. They are best suited for lifestyle photography, such as photographing jewelry models in certain contexts.
The 60mm macro lens is a standard lens that produces a full frame or 0.5x magnification image. While the temptation to be creative is tempting, you want your product to appear as accurately as possible to the viewer.
If your budget allows, consider buying a macro lens with a 1:1 (full frame) capacity.
Your goal is to make the most technical purchase you’ll make, but don’t let these great terms fool you. Taking great product photos is very possible as a beginner photographer.
Your pedestal
A quality stand is a good investment and should not be overlooked. The reason many people struggle to take beautiful pictures of their jewelry is that even the slightest movement can cause blurred and blurry pictures. The tripod allows you to tilt the image and lock it once you’ve found the perfect angle, so you always have a still, focused photo.
The most daunting problem for most amateur photographers, aside from getting the right gear, is lighting. Multiple exposure errors can render your image unusable. Adequate lighting is especially important for online businesses – so important that platforms like Amazon and Ebay actually reject images of jewelry products with too much shadow.
Practical advice for choosing the ideal lighting system
Natural light: You don’t want to take pictures with the sun directly on the product – place the product near a source of filtered natural light, such as a window. Sunlight creates shadows and reflections. Also, don’t take pictures with flash, it has the same effect.
Tape white paper over the window to diffuse the light if it’s too direct Shoot with a white background: Jewelry is usually small and compact, so you don’t need to tie sheets over the entire wall to get a clean background. A matte white piece of paper can serve as an effective background without reflections.
Colored backgrounds affect the colors of the actual product, which is a disaster when customers want to see the actual color of the metal or stones.
Busts: Use white jewelry badges to hang necklaces or cover your bust with white material.
If you don’t have one handy, you can always make two cuts in a sturdy piece of cardboard and hang a hook on it as a quick fix.
Lighting Solutions
Choose the right aperture: A camera’s aperture determines how light enters the lens. If the aperture is too wide, the image will appear blurry.
Shoot with aperture priority, which you can find on the camera button as “A” or “AV”, and select f11 or f16 as the aperture.
The smaller aperture produces a sharp and detailed image, which is exactly what you’re looking for. Quick lighting settings – you should consider configuring.


